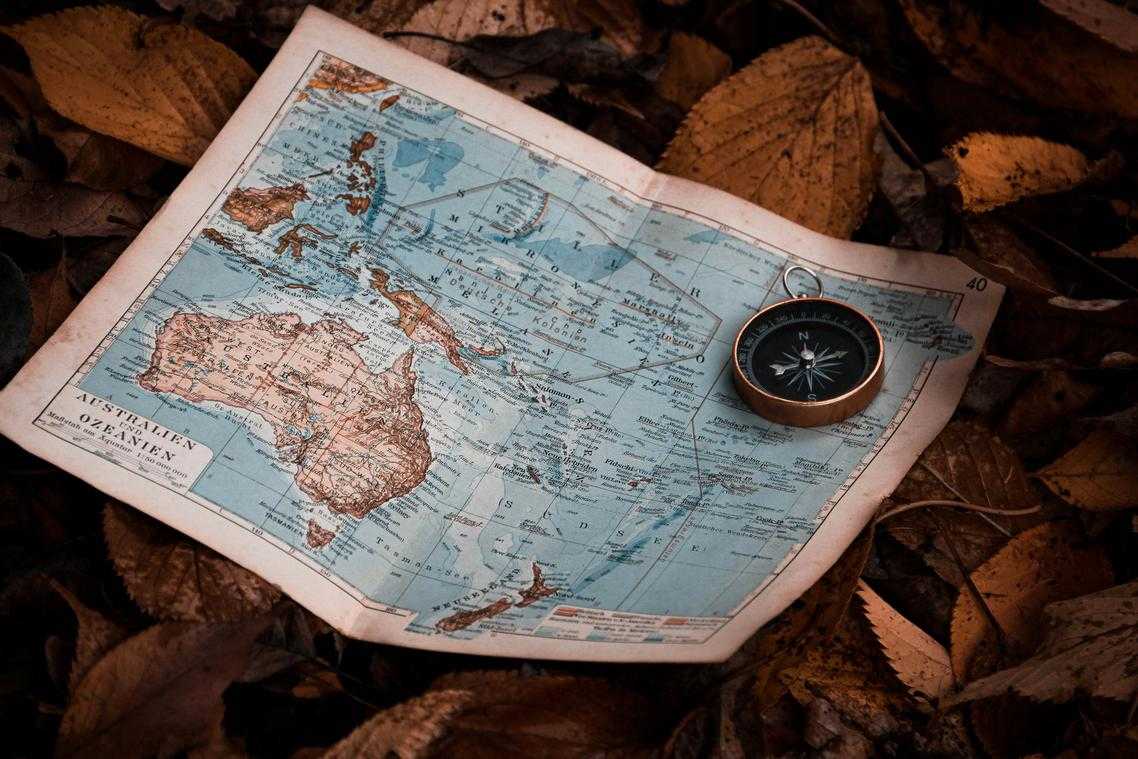
I’ve planned enough trips to know that most people treat their maps like glorified GPS devices.
You open it, find an address, and close it. That’s it.
But what if your map could hold your entire trip? Every restaurant you want to try, every viewpoint you’ve bookmarked, every backup plan when the weather turns bad.
Here’s the thing: your phone already has everything you need to build this. You just haven’t been using it right.
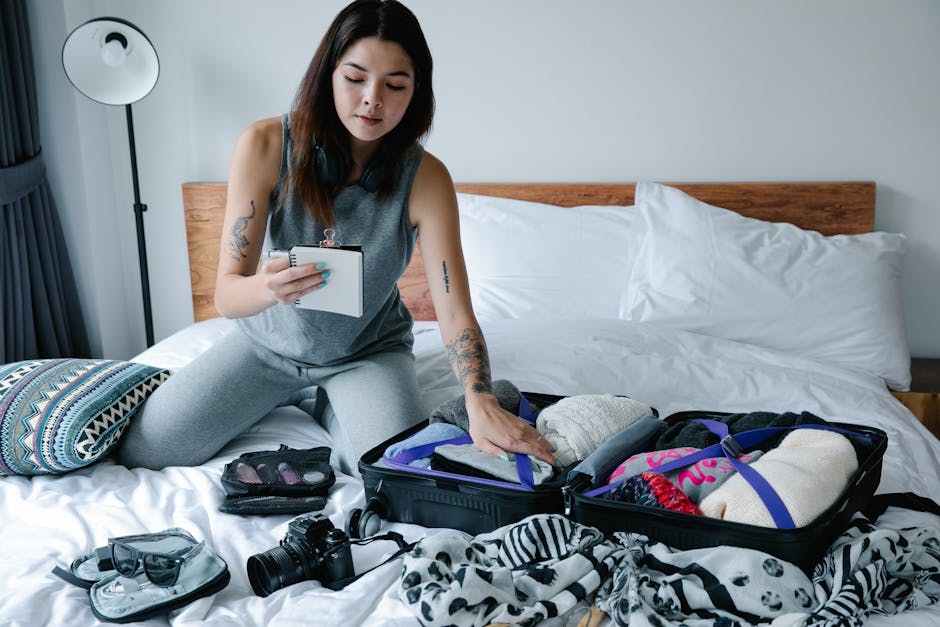
I spent years fumbling through trips with screenshots, notes apps, and browser tabs open everywhere. Then I figured out how to put it all in one place where I could actually see my plan.
This map guide at ttweakmaps from traveltweaks will show you exactly how to do it.
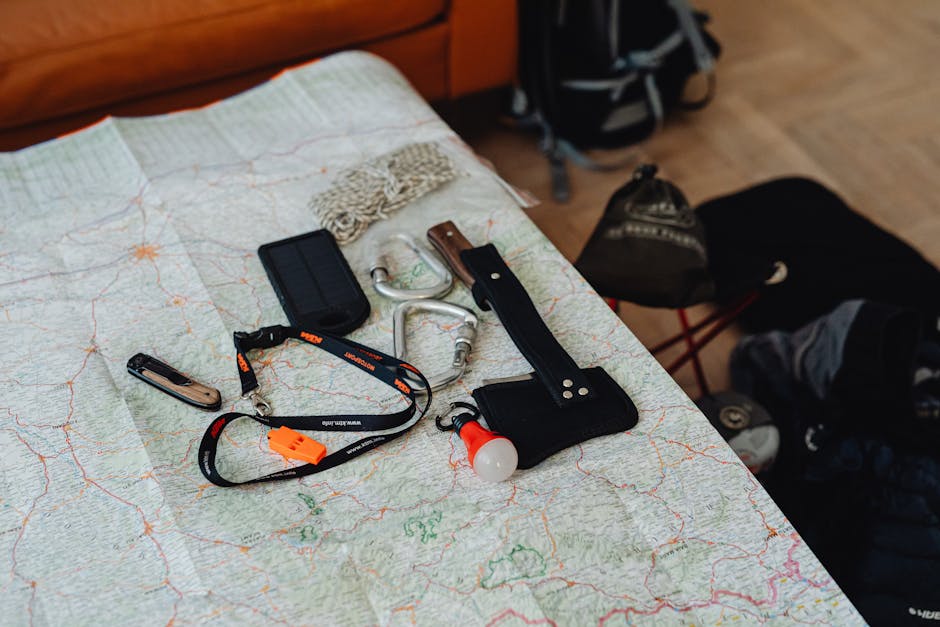
You’ll learn how to layer your interests onto a map, color code your priorities, and set up everything to work when you lose signal (because you will lose signal).
No more switching between six apps to remember where that cafe was. No more panic when you can’t load directions.
Just one map that knows your trip better than you do.
Choosing Your Digital Canvas: The Best Mapping Tools for Travelers
Your phone’s default map app gets you from point A to point B.
But when you’re planning a real trip? It falls short.
I learned this the hard way in Portugal. I had dozens of restaurant recommendations, hiking trails, and hidden viewpoints scattered across notes and screenshots. Finding anything took forever.
That’s when I started testing dedicated mapping tools.
Google My Maps is where I build most of my travel plans now. You can create custom layers for different categories (restaurants, hotels, must-see spots). The icon selection is solid. You can add detailed notes to each pin and share the whole map with travel companions.
Best part? It syncs with your phone automatically.
But some trips need specialized tools.
If you’re hitting the trails, AllTrails gives you topography maps and elevation profiles that Google can’t match. I used it for every hike in the Azores and never got lost (which is saying something for me).
Planning a road trip? Roadtrippers calculates fuel costs and surfaces weird roadside attractions you’d never find otherwise. Think giant balls of twine and historic diners.
Citymapper is unbeatable in big cities with complex transit systems. It saved me countless hours in Tokyo figuring out which subway line actually got me where I needed to go.
The map guide at Ttweakmaps from traveltweaks breaks down exactly how to set these up for different trip types.
Pick your tool based on what you’re doing. Not what’s already on your phone.
The Art of Layering: How to Organize Your Travel Intel Visually
You’ve got 47 pins on your travel map.
Half of them overlap. The other half? You can’t even remember why you saved them.
I see this all the time. People start planning a trip with good intentions. They save every restaurant recommendation and tourist spot they find. Then when it’s time to actually use the map, it’s just a mess of colored dots that tell them nothing.
Here’s what most travelers do wrong.
They treat their map like a dumping ground. Everything goes in one place with no structure. When you’re standing on a street corner in Barcelona trying to find lunch, you don’t want to scroll through museum pins and hotel markers.
Some people say you should just keep it simple. One map, minimal pins, no complications. They argue that organizing everything into categories takes too much time and you’ll never use it anyway.
And look, I get the appeal of keeping things basic.
But here’s the problem with that approach. When everything lives in one layer, you can’t see what matters right now. You end up with decision fatigue before you even leave your Airbnb.
The Smart Way vs The Scattered Way
Let me show you what I mean.
The scattered approach: You open your map and see 50 pins. Restaurants next to train stations next to museums. You spend five minutes zooming in and out just trying to figure out where you wanted to eat tonight.
The layered approach: You toggle off everything except your Food & Drink layer. Now you see exactly what you need. Nothing else.
That’s the difference.
I use a system that separates my travel intel into five layers. Each one serves a specific purpose.
Start with your Logistics layer. This is where your hotel goes, along with the airport and any transport hubs. I mark these in blue because they’re foundational. You need to know where you’re sleeping and how you’re getting around. When planning your game world, utilizing tools like Ttweakmaps can help you effectively visualize your Logistics layer, ensuring that essential locations like hotels and transport hubs are strategically placed for optimal gameplay. When planning your game world, utilizing tools like Ttweakmaps can help you visualize and organize essential locations like hotels and transport hubs, ensuring a seamless experience for players navigating your meticulously crafted logistics layer.
Next comes Must-See Attractions. These are your non-negotiables. The Sagrada Familia. The Louvre. Whatever brought you to this city in the first place.
Then your Food & Drink layer. This one saves me every single trip. (I actually split mine into breakfast and dinner spots because I’m picky about my morning coffee.)
Layer four is for Hidden Gems. That rooftop bar your coworker mentioned. The vintage shop you saw on Instagram. All those “maybe if I have time” places that you don’t want cluttering your main view.
Finally, Practical Points. ATMs, pharmacies, public restrooms. The stuff you don’t think about until you desperately need it.
The beauty of this system? You control what you see.
Walking to a museum? Turn on Logistics and Must-See Attractions. Everything else disappears.
Looking for dinner? Just your Food & Drink layer. Clean and simple.
I learned this the hard way in Tokyo. I had everything on one layer and spent half my trip just trying to decode my own map. Now I use the map guide ttweakmaps approach and my planning actually makes sense when I’m on the ground.
Pro tip: Use consistent colors across all your trips. Blue for logistics, red for food, green for attractions. Your brain will start recognizing patterns without you even thinking about it.
The goal isn’t to create the perfect organizational system. It’s to build something that actually helps you when you’re tired, jet-lagged, and standing in the rain trying to find somewhere to eat.
Go Beyond Pins: Using Icons, Colors, and Notes for At-a-Glance Info
Default pins all look the same.
And that’s a problem when you’ve got 30 locations saved on one map. You end up clicking each one just to remember if it’s a restaurant or a museum.
I was helping a friend plan her Rome trip last month and she said something that stuck with me.
“I spent 20 minutes just trying to find that gelato place you told me about. Everything was a red pin.”
That’s when I realized most people don’t know you can fix this in about 30 seconds.
Color-Coding Changes Everything
Here’s what I do. Every layer gets its own color.
Blue for sights. Red for food. Green for parks. Yellow for hotels.
Sounds simple because it is. But now when I open my map, I can see the whole picture without reading a single label. Map Guides Ttweakmaps by Traveltweaks is where I take this idea even further.
Some travelers tell me this is overkill. They say “I only have a few places saved, I don’t need colors.”
Fair point. If you’re planning a weekend trip with five stops, maybe you don’t.
But try planning two weeks across three cities. Try coordinating with travel partners who keep adding their own suggestions. Suddenly that color system doesn’t seem so extra.
Icons Are Your Visual Shorthand
Don’t stop at colors.
I use a fork and knife icon for restaurants. A camera for photo spots. A shopping bag for markets. A bed for accommodations.
Google Maps gives you dozens of options. Takes two clicks to change.
My colleague Mark puts it this way: “I can scan my map in five seconds and know exactly where I’m eating lunch versus where I’m taking sunset photos.”
That’s the whole point. You want information at a glance.
The Notes Section Is Gold
This part saves me every single trip.
I drop everything important into the notes for each pin. Opening hours. Ticket prices. Reservation numbers when I book ahead. As I meticulously organize my gaming adventures, I often rely on Ttweakmaps to ensure that I drop everything important into the notes for each pin, including opening hours, ticket prices, and reservation numbers when I book ahead. To streamline my planning and ensure I capture every detail, I find that using Ttweakmaps is invaluable, as it allows me to organize essential information like opening hours and ticket prices for each gaming destination I visit.
I also paste links. Official website. That blog review that convinced me to visit. Whatever I’ll need later.
And here’s my favorite trick. Personal reminders.
“Sarah said the carbonara here is perfect.”
“Get here before 9am to beat the crowds.”
“Cash only, no cards.”
When I’m actually traveling, I’m not digging through emails or screenshots. It’s all right there in my map guides ttweakmaps traveltweaks setup.
One traveler told me recently: “I used to keep a separate Google Doc with all my notes. Now I just put everything directly on the map. Game changer.”
Same. It keeps everything in one place instead of scattered across apps.
Look, you can skip all this customization if you want. Plenty of people do fine with basic pins.
But if you’ve ever opened your map mid-trip and felt confused about your own planning? These tweaks fix that problem for good.
From Points to Plans: Integrating Routes and Daily Itineraries
You’ve got your pins dropped. Your spots are marked.
Now what?
A map guide ttweakmaps from traveltweaks isn’t just about saving locations. It’s about turning those scattered points into something you can actually use when you’re walking around a new city.
Here’s what I recommend.
Start with the draw feature. Connect your pins with lines or use the directions tool to build routes. This gives you a visual path instead of just dots on a screen. This ties directly into what we cover in Map Guides Ttweakmaps From Traveltweaks.
Want to explore a neighborhood without stopping every five minutes to check where you’re going? Build yourself a walking tour. Plot your route through connected points and you’ll move through the area like you know what you’re doing.
Create layers for each day. I make one layer called “Day 1: Historic District” and another for “Day 2: Waterfront.” Drop the relevant pins on each layer. Now you can see exactly what you’re doing each day without the clutter.
This is where your map ttweakmaps becomes a real tool.
For transit planning, keep your custom map open to see your stops. Then switch to something like Citymapper to figure out how to get between them. Your map shows the what. The transit app shows the how.
The difference? You’re not wandering. You’re following a plan you built yourself.
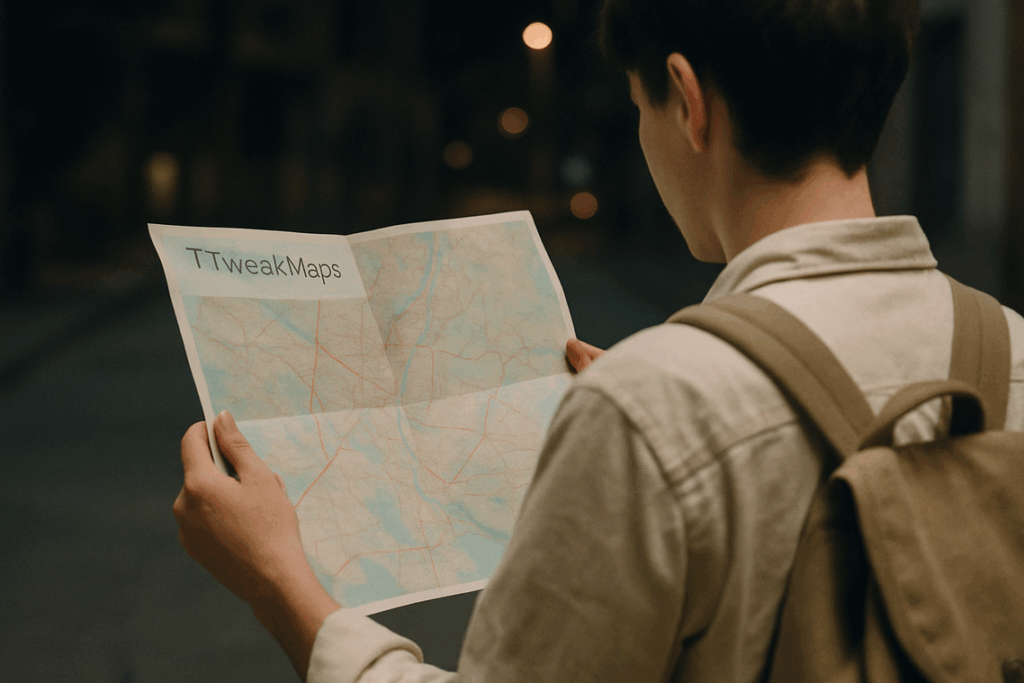
Never Get Lost Again: Ensuring Offline Access to Your Custom Maps
You know that sinking feeling when you’re standing on a street corner in a foreign city and your phone just shows a blank screen where your map should be?
Yeah. I’ve been there too many times.
The worst part isn’t even being lost. It’s knowing you had the map. You just didn’t prepare it right.
Here’s what most travelers do. They assume their data will work everywhere. Or they figure they’ll just find Wi-Fi when they need it.
But then reality hits. Your roaming charges spike to $50 a day. Or you’re hiking in the mountains where there’s zero signal. Or you’re in a subway tunnel trying to figure out which exit gets you to your hotel.
Some people say you should just buy a local SIM card everywhere you go. Problem solved, right?
Maybe. But that takes time you might not have. And honestly, I’m not always sure which carrier actually works best in each country (the reviews online contradict each other constantly).
The smarter move? Just download everything before you leave.
How to Actually Do This
For Google Maps, it’s pretty simple. Open the app and search for your destination city. Tap your profile picture and hit ‘Offline maps.’ Then select the area you need.
Your custom My Maps layers will show up on top of that downloaded base map. At least, they’re supposed to. I’ll be honest though. Sometimes the pins don’t load perfectly offline and I’m not entirely sure why Google hasn’t fixed that yet.
For apps like AllTrails or other travel tools, look for the download button. Most have it right on the map guide ttweakmaps from traveltweaks interface.
The one rule I never break: Download over Wi-Fi at your hotel or home. Don’t burn through your data plan before you even start exploring.
Pro tip: Test it. Put your phone in airplane mode while you’re still somewhere safe. If the map loads, you’re good. If it doesn’t, you’ve got time to fix it. To ensure a smooth gaming experience on your next adventure, make sure to consult the Map Guides Ttweakmaps Traveltweaks, as they provide essential tips for offline navigation. To ensure a smooth gaming experience on your next adventure, make sure to consult the Map Guides Ttweakmaps Traveltweaks, as they provide essential insights for navigating even the most challenging terrains.
I learned this the hard way in rural Japan when my “downloaded” map turned out to be not so downloaded after all.
Your Journey, Perfectly Mapped
You came here to learn how to make maps work harder for you.
Now you can turn any map into a travel dashboard that actually makes sense. You’ve moved past basic directions and learned to build something that tells the story of your trip.
I’ve shown you how to organize everything in one place. Your destinations, your notes, your plans.
This isn’t about fancy features. It’s about having what you need when you need it.
Here’s what to do next: Open your map tool right now and drop your first custom pin. Pick a place you want to visit and start building from there.
Your future self will appreciate the effort. Trust me on this one.
The map guide ttweakmaps from traveltweaks approach works because it’s simple and it sticks. You don’t need to overthink it.
Start planning. Your next adventure is waiting.
 Ask Norvain Quenthos how they got into travel tips and hacks and you'll probably get a longer answer than you expected. The short version: Norvain started doing it, got genuinely hooked, and at some point realized they had accumulated enough hard-won knowledge that it would be a waste not to share it. So they started writing.
What makes Norvain worth reading is that they skips the obvious stuff. Nobody needs another surface-level take on Travel Tips and Hacks, Adventure and Outdoor Activities, Travel Planning Resources. What readers actually want is the nuance — the part that only becomes clear after you've made a few mistakes and figured out why. That's the territory Norvain operates in. The writing is direct, occasionally blunt, and always built around what's actually true rather than what sounds good in an article. They has little patience for filler, which means they's pieces tend to be denser with real information than the average post on the same subject.
Norvain doesn't write to impress anyone. They writes because they has things to say that they genuinely thinks people should hear. That motivation — basic as it sounds — produces something noticeably different from content written for clicks or word count. Readers pick up on it. The comments on Norvain's work tend to reflect that.
Ask Norvain Quenthos how they got into travel tips and hacks and you'll probably get a longer answer than you expected. The short version: Norvain started doing it, got genuinely hooked, and at some point realized they had accumulated enough hard-won knowledge that it would be a waste not to share it. So they started writing.
What makes Norvain worth reading is that they skips the obvious stuff. Nobody needs another surface-level take on Travel Tips and Hacks, Adventure and Outdoor Activities, Travel Planning Resources. What readers actually want is the nuance — the part that only becomes clear after you've made a few mistakes and figured out why. That's the territory Norvain operates in. The writing is direct, occasionally blunt, and always built around what's actually true rather than what sounds good in an article. They has little patience for filler, which means they's pieces tend to be denser with real information than the average post on the same subject.
Norvain doesn't write to impress anyone. They writes because they has things to say that they genuinely thinks people should hear. That motivation — basic as it sounds — produces something noticeably different from content written for clicks or word count. Readers pick up on it. The comments on Norvain's work tend to reflect that.